Managing your library
Every image, video, and document you upload is stored in your media library. You can browse, search, reuse, and delete files from a single place.
Browsing your library
Section titled “Browsing your library”Open the full media library manager by clicking the Media library button (the image icon) in the editor toolbar at the top of the page. The library grid shows every file you’ve uploaded, with square thumbnails and the filename on hover.
Note: clicking an image inside a Media section opens a picker for choosing or swapping that section’s image — that is the insert/swap flow, not the full manager, so Delete, usage counts, and batch-select are not available there.
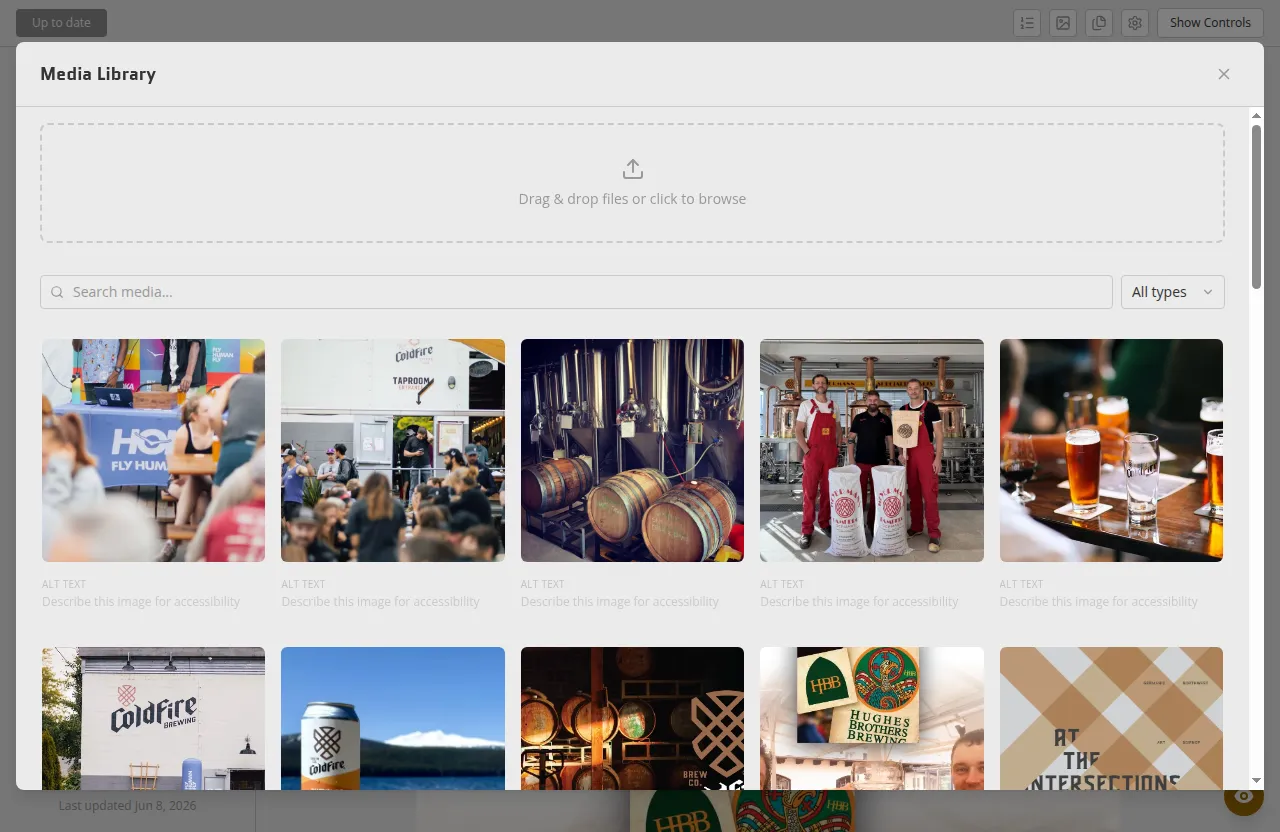
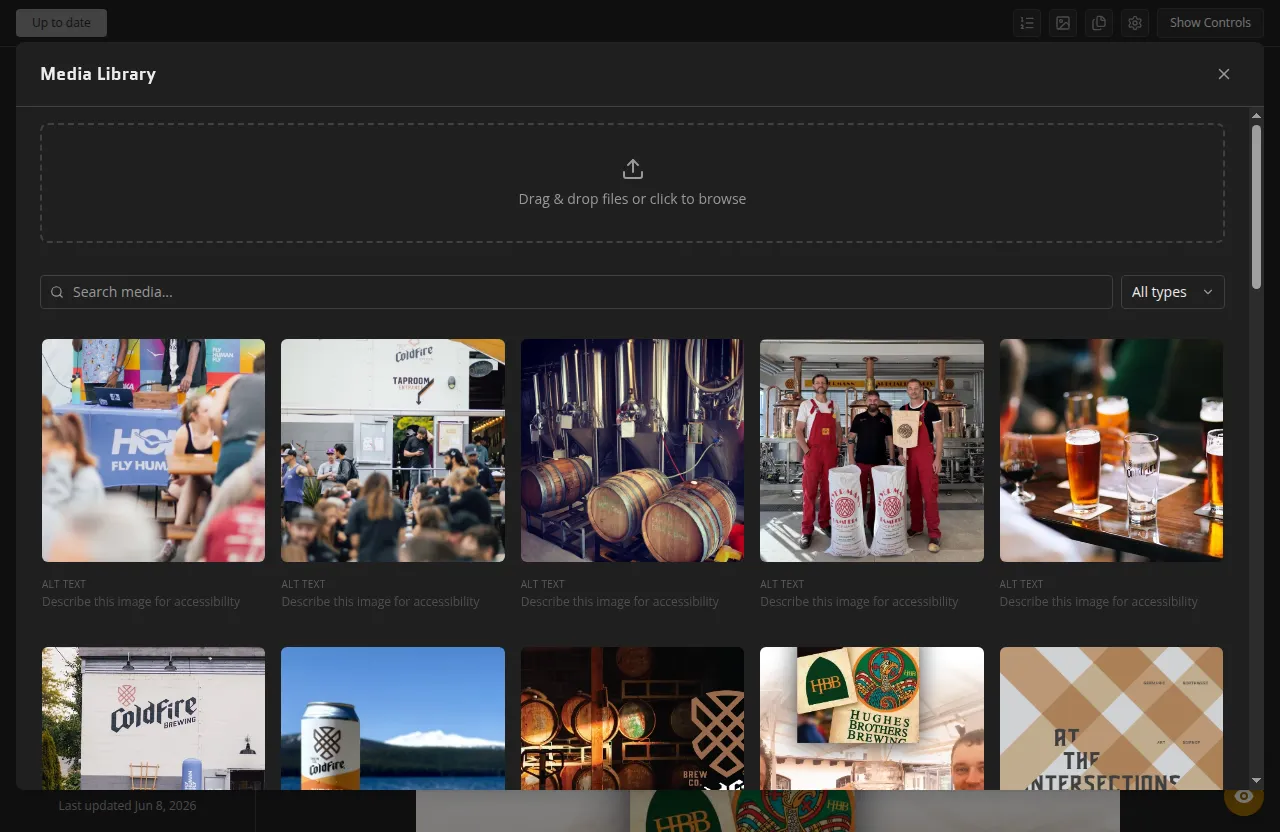
Use the search box to filter by filename, or use the type filter to show only images, animated files, videos, or documents.
Documents in the library
Section titled “Documents in the library”Documents — the PDF and HTML files used by Document sections — live in their own Documents folder, which the library creates and maintains for you as soon as you upload one. Open it from the sidebar or from the folder tile at the top level. A document tile shows a file icon rather than a preview, with a PDF or HTML badge in the corner and the filename and size beneath it.
The Documents folder is automatic: you can’t rename it, delete it, or drag files into or out of it, and documents can’t be filed into your own folders. Search and the Documents type filter still reach them from anywhere in the library — a document in a search result is tagged with a Documents chip, the same way a filed image shows its folder.
Deleting a document
Section titled “Deleting a document”In the library’s manage view, documents work like images: hover a tile to see its usage count, click to select, and use Delete in the toolbar. You can select documents and images together — one Delete handles both.
If a document you’re deleting is used by a Document section, you’ll be asked to confirm. Confirming leaves those sections in place but empties them, so each one shows “no file selected” until you choose another document for it (or delete the section). Check the usage count before you delete if you’re not sure where a file is used.
Like every other library change, a deletion applies to your working copy immediately and is committed to your site’s repository when you save. Uploading a document while inside the Documents folder is fine — new files land in the library and appear in the folder automatically.
Organizing with folders
Section titled “Organizing with folders”Folders let you group related images and videos so they’re easier to find — they’re purely for organization. Moving a file into a folder never changes its ID or the URL your pages use to reference it, so reorganizing your library is always safe.
Creating and renaming folders
Section titled “Creating and renaming folders”Click New folder in the library toolbar and give it a name. If a folder with that name already exists at the same level, a number is appended automatically (for example, Logos (2)).
To rename a folder, open its ⋮ menu and choose Rename.
Moving files into folders
Section titled “Moving files into folders”- Drag and drop — drag one or more selected thumbnails onto a folder tile, or onto a folder in the sidebar tree (dragging over a collapsed folder briefly expands it so you can drop into a subfolder). You can also drop onto any segment of the breadcrumb to move into an ancestor folder.
- Move to… — if you’d rather not drag, select one or more thumbnails and click Move, then choose the destination folder from the list and confirm. This works the same way whether you’ve selected one file or many.
Use the breadcrumb at the top of the grid to see where you are and jump back to a parent folder or All media.
Deleting folders
Section titled “Deleting folders”Open a folder’s ⋮ menu and choose Delete.
- If the folder is empty, it’s removed immediately.
- If it contains files or subfolders, you’re asked to choose:
- Move contents to parent — the folder is removed and everything inside it moves up one level.
- Delete N items — the folder and everything inside it is deleted. Any of those images or videos currently in use in a section are also removed from those sections.
Folders while picking an image
Section titled “Folders while picking an image”When you’re choosing or swapping an image from inside a Media section, you can still navigate into folders using the sidebar, tiles, and breadcrumb — but folder management (create, rename, delete, move, folder upload) isn’t available there, since that view is for picking a file, not organizing the library.
Reusing images across sections
Section titled “Reusing images across sections”An image you upload once can be placed in as many sections as you like — just select it from the library whenever you add or swap a Media section. Each section holds a reference to the image by its ID; the image file itself is stored once.
Usage counts
Section titled “Usage counts”In the library’s manage view, hovering over a thumbnail shows a usage count — for example, “Used 3×” — so you can see at a glance which images are in use and which are not.
Deleting images
Section titled “Deleting images”To delete one or more images:
- Click the thumbnails you want to remove. A circle indicator appears on each selected item.
- Click the Delete button that appears in the toolbar.
- If any of the selected images are currently used in a section, a confirmation prompt appears. Confirming removes them from those sections and deletes the files.
Deletion takes effect in your working copy and is committed to your site’s repository when you save.
How images are served
Section titled “How images are served”Once published, your images are served through your site’s media route (/api/media/{id}/{width}.webp). The browser receives the size that best fits the visitor’s screen — 640 px, 1 080 px, or 1 920 px wide — rather than always downloading the largest version.
Images are cached at the CDN level so that each size variant is fetched from storage roughly once and delivered quickly on repeat visits.
Image IDs
Section titled “Image IDs”Behind the scenes, every image has a 16-character ID derived from a hash of its contents. Two uploads of the same file produce the same ID, so the library will not store duplicates. You don’t need to work with IDs directly; they are used internally to wire sections to the right image.